Creating a blog post outline doesn’t have to be hard.
Have you ever seen those blog posts that seem to answer every question perfectly? You’re like man; this was really helpful! It told me everything I needed to know. How did they know what I needed?
Then some blog posts just ramble on, and you don’t even know what the point was.
The articles that present the best solution come from writers who know their target audience well, so they know the problems to solve. And I mean they know their ideal client, customer avatar, or audience intimately as in they obsess over them.
Also, the writers of those perfect blog posts are probably using an outline so they can provide a complete solution to their readers’ problems. Writing wildly successful posts comes easier with experience and practice.
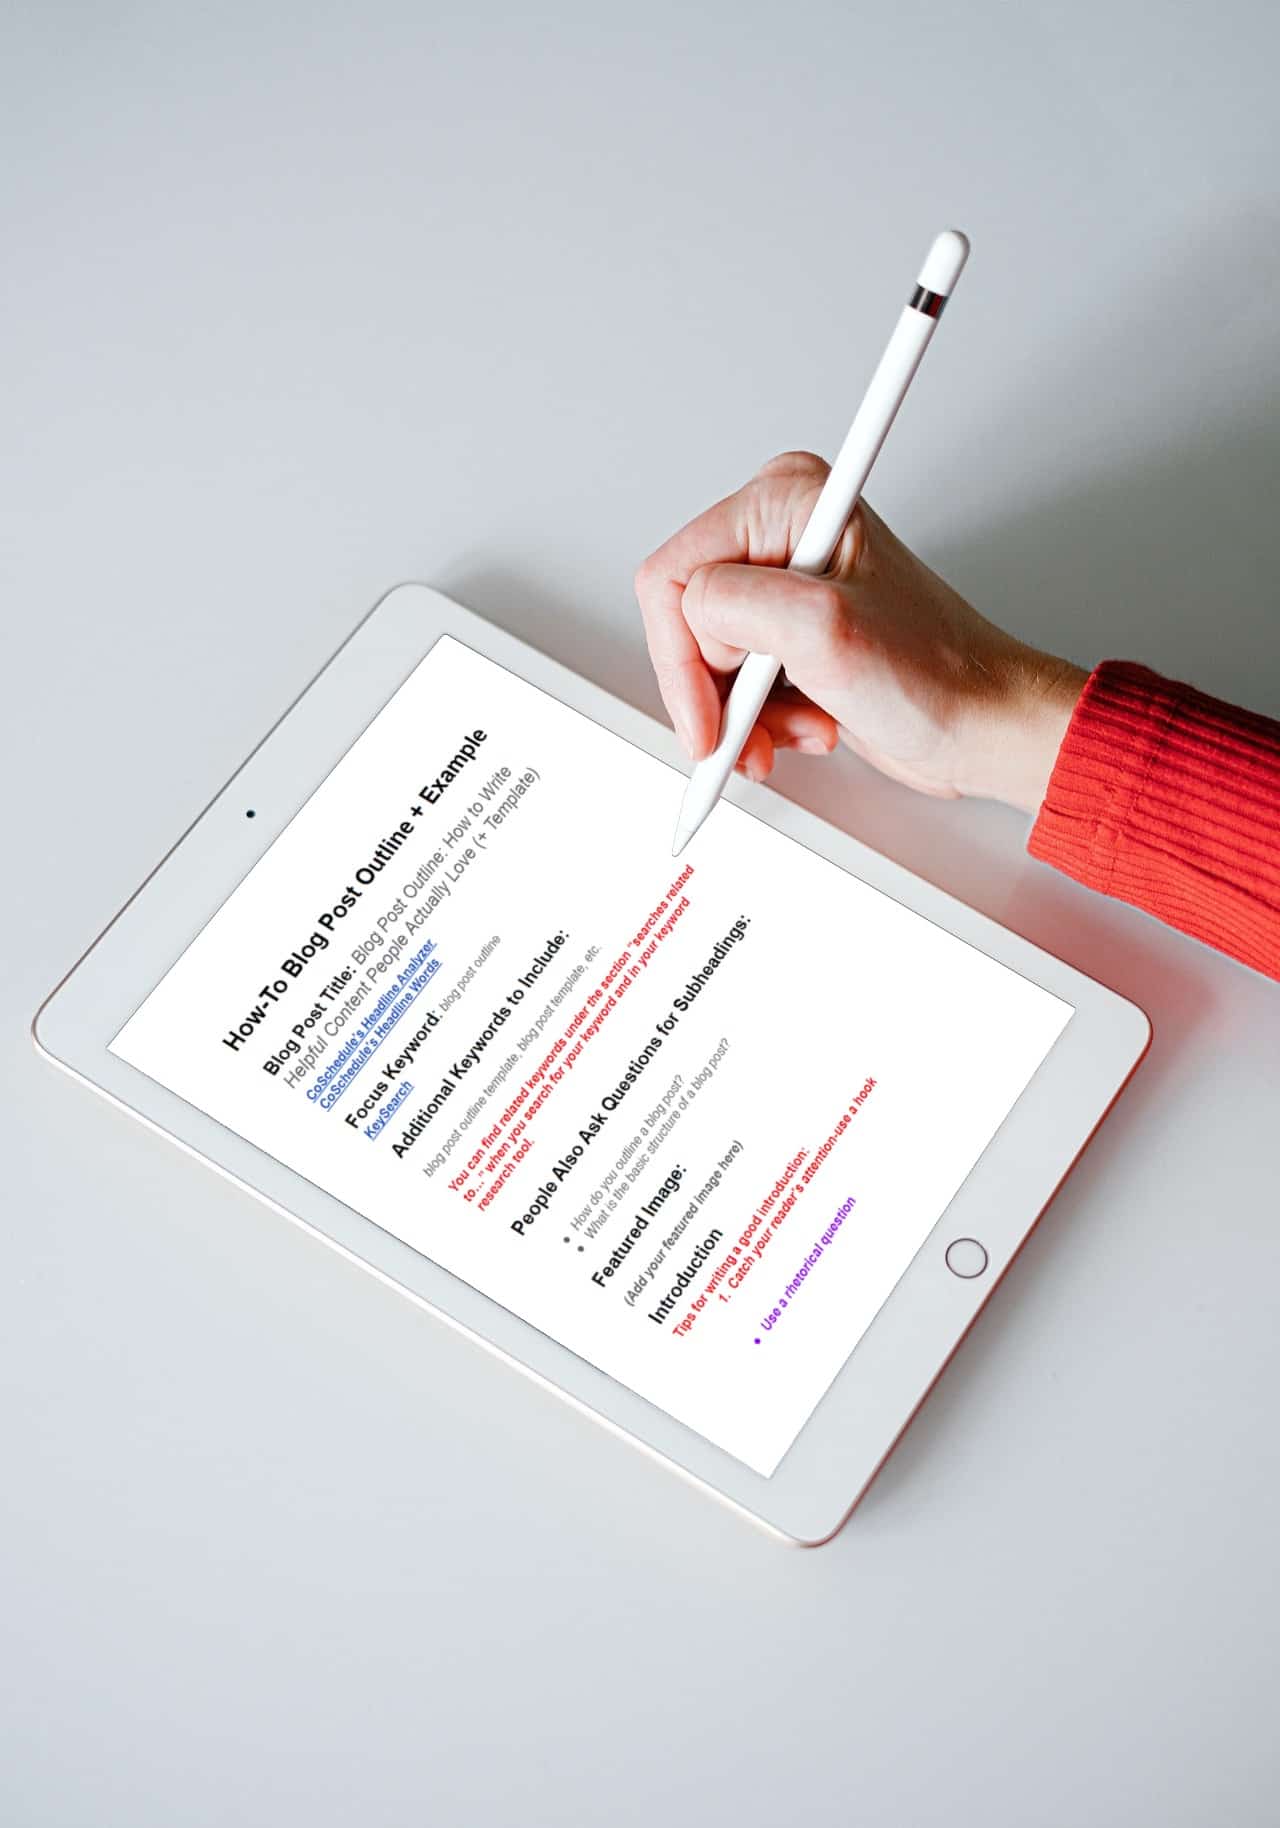
So, we’re diving into how to write a blog post fast by creating a blog post outline so you can turn readers into raving fans. You’ll see a blog post outline example + template.
What is a Blog Post Outline?
An outline is essentially a roadmap or structure that helps you know what to write ahead of time and how to present it in a clear, logical manner. It’s important to note that a blog post outline is different for each person.
The good thing is that you don’t need to follow a strict guideline; you just need to understand the basic form of an outline because the best thing about outlines is that they are flexible.

Why You Need a Blog Post Outline to Create Phenomenal Content
First, I want to be honest and tell you that I’ve never been a big fan of outlines. I have a couple of degrees and never used an outline in college.
The only exception may be my final thesis, and even then, I’m pretty sure my idea of an outline in college doesn’t resemble what I’m talking about here.
But even I find outlines very helpful when writing a blog post, so I created a blog post outline template that I use for every article I write.
Think of all the things that make a blog post terrible. The ideas don’t flow well and hop all over the place. Or perhaps it flows like one never-ending stream of consciousness.
A blog post outline helps you become a better writer and present information in a way that’s easy to read and digest.
It also saves time because when you sit down to write, you just plug your information into the blog post outline template that I’ve created for you. Eventually, you won’t even need a template to create an outline for a blog post because it becomes a natural part of your blog writing progress.
Outlining a blog post also helps you train your brain to follow a logical process when creating content. It enables you to organize your thoughts and give your audience actionable information for those small wins. And it can even help beat writer’s block!
Related: The Ultimate Guide to Freelance Writing for Beginners

What is the Basic Structure of a Blog Post?
In its most basic structure, a blog post has four main elements:
- Title: A clickworthy title that catches a reader’s attention
- Introduction: An introduction to the topic you’re writing about – this element also includes the hook that makes them want to read more.
- The Main Body: This is where the main content goes. It’s a logical sequence of events with subheadings that leads the reader through your blog post and keeps them reading.
- The Conclusion: This part ends the blog post and invites the reader to take an action, this is known as the Call to Action or CTA
How Do You Outline a Blog Post -9 Easy Steps
Now here’s that in-depth look at an awesome blog post outline, so you know how to use the template I provide here.
Step 1- Brainstorming – Determine the Main Topic or Idea
Brainstorming is getting everything swirling around in your head to determine your main topic or idea. A brain dump is a perfect description. You can even create an actual mind map.
Don’t worry about organizing your thoughts yet. You’re just writing everything down so you can see the whole picture.
First, you want to determine the topic you want to write about. I used to look for blog topic ideas first and then did keyword research.
But now I know my audience fairly well so I like to see if there is a particular target keyword I can easily rank for first. My niche is super competitive so this is very hard for me.
But you may just be trying to come up with topic ideas right away. Your blog posts should help you solve your readers’ problems and to find them you need to go where they hang out. Some great places to find ideas to write blog posts about are Facebook groups where your audience hangs out or even LinkedIn.
For instance, my customer avatar or target reader is me earlier in my journey. I’m in several Facebook groups for new writers, and I can find what people struggle with there.
You can also search forums like Quora to see questions that your audience needs answered. I typed in freelance writing and found questions on where to find freelance writing jobs for beginners, what is freelance writing, and many more.
There are thousands of forums out there that you can find by simply typing in your niche + forums. So, I may type in “freelance writing forums.”
If you have an idea for a topic you can think about what you want to write about first and the next step would be keyword research.
Step 2- Keyword Research
Once you have an idea for a blog post, you want to do keyword research.
Keyword research is a critical part of the writing process because the whole outline relies on the target keyword you choose.
This is why it’s one of the first things to do, so you can find the phrases your target audience uses to search for solutions and keywords you can actually rank for.
Those two things are essential. There are a couple of ways to do this, and you can use Google itself to see popular search terms.
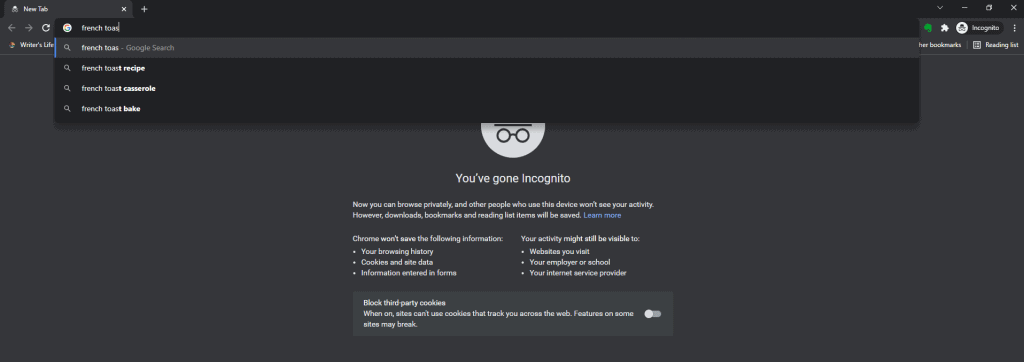
I start typing in french toast, and I can immediately see suggestions that Google gives me for keyword phrases people search for – french toast recipe, french toast casserole, and french toast bake. You may want to do this in an incognito window because your previous search terms can influence the phrases that return.
You can also use free SEO and keyword research tools to help you find great keyword combinations like Answer the Public, Ubersuggest, Screaming Frog, and more.
These are all really helpful resources, but my favorite is KeySearch. You can use it free, but I use one of their paid options, and you can do so many things with KeySearch.
This SEO app offers many helpful tools such as competitor analysis, the Content Assistant, keyword research, and more. It usually costs $17 a month, but if you go through my link you can use this coupon code KSDISC to get 20 percent off a subscription every month, which brings it down to $13.60.
If you’re serious about your blog, invest in a keyword research tool like KeySearch. Want to learn more about how this incredible SEO tool works? Check out my in-depth KeySearch review.
Step 3 – What are the Essential Points You Want to Cover?
Once you’ve chosen your topic and found a keyword you can rank for, list the things you want to discuss in the article. What are the main points you want your readers to understand? Ask yourself what you want to be the key takeaway.
So, let’s look at this article, for example.
- I wanted you to learn how to use an outline to create awesome blog content.
- You needed to know what an outline was as well as why you need a framework for blog posts.
- It was also important to give you actionable steps to walk you through the process of creating your first blog outline.
- I needed to create the steps I use like keyword research, brainstorming, the writing process, etc.
Also, think about the call to action (CTA) you plan on using. The post needs to be structured so that your CTA makes sense and feels like it solves a problem. Keep your ending in mind, so you know where you’re going.
Typical calls to action include:
- Sign up for your newsletter
- Share your blog post
- Leave a comment
- Sign up for a demo of free trial of a product or software
- Read more content on your blog
- Buy a product or service

Step 4- Create an Awesome Blog Post Title
Now you’re ready to create a blog title that persuades people to click on it. That can be difficult to do. Your title must include your keyword phrase without sounding awkward and needs to catch the attention of readers.
Consider these two examples:
How to Use Grammarly Premium to Create Better Content
Grammarly Premium Review: How to Make Even the Worst Blog Post Sound Amazing
Which one do you like? The second one makes you curious and might just make you want to click to learn more.
I have to say that my weakness is creating clickable titles. But I use a couple of tools to craft my headlines, CoSchedule’s Headline Analyzer, and a PDF of words to use in your headlines.
There’s a lot that goes into writing a headline. It’s the perfect mix of emotional, power, common, and uncommon words, and it’s not too short or too long.
But really, keep your audience in mind. Use the lingo they do and really focus on showing the benefit a reader will get from reading your blog post.
Step 5- Research
Research is one of my favorite parts of the process. It may seem like a lot goes in this section, but it’s less stressful than chasing two toddlers running around the house in different directions throwing Cheerios everywhere. Or baby powder. That’s worse (true story).
Type Your Keyword Phrase in Google
You can find a lot of useful information just by typing your keyword into Google. Look at the posts on page 1 and see if they match the content you want to create. User intent is critical with SEO.
For example, if you want to write about how to be a freelance writer and type the phrase “freelance writer,” do the results match the intent of your post?
When you type in freelance writer, and the top five results are ads on finding writers not how to become one. That keyword phrase does not match with your goal so you need to go back to the drawing board with your keyword research.
Look at the subheadings that the top posts contain and think about adding something like them to your blog article. Don’t copy. That’s not what I’m saying here. You want to thoroughly cover the topic and make your post better than theirs.
Also, check out the “people also ask” section to see other questions you can answer in your blog post. This trick is a great way to add value to your content and you can use some of the questions as headings.
You want to use your main keyword, related keywords, or LSI keywords in headings where you can.
Identifying the Gaps in Your Content
You likely don’t know all there is to know about your topic, so you need to identify the points that you don’t know and research to find information to fill those gaps.
After you look at the other ranking posts and your brainstorming, you can list all the things people need to know. You can even start fleshing out some of the main sections of your blog post, so you don’t miss anything.
Combine what you know and the information you found researching, and now you know what needs to go in the post. This step rolls into the next here.

Step 6- Create Your Initial Outline
This step is where you combine everything above and make your tentative outline. Your blog post format depends on the type of blog post you’re writing.
There are many different types of blog posts with different blog post formats but they all have a similar flow.
You’ll find many different blog posts types but the main kinds are:
- List posts
- How-To Guides and Tutorials
- Checklists
- Infographics
- Roundups
- Case Studies
- Interviews
- Reviews
- Comparisons
- Resources
- Inspirational Stories
- A Look Behind the Scenes
- FAQs
- Guides
- Fact vs. Myth
- Cheatsheets
- Recipes
- Summarize or Curate Someone Else’s Post
- Quotes and Affirmations
Each heading further drills down your topic. Your H1 is your title header so it is the main topic.
H2s should be a primary point, and then you use all the information you’ve gathered to help explain each main point. Then you would use sub-headings H3 to H6 to break the main headings down even further. You won’t use many headings past H4 usually but you can if your topic warrants it.
So, a very basic outline would look like this:
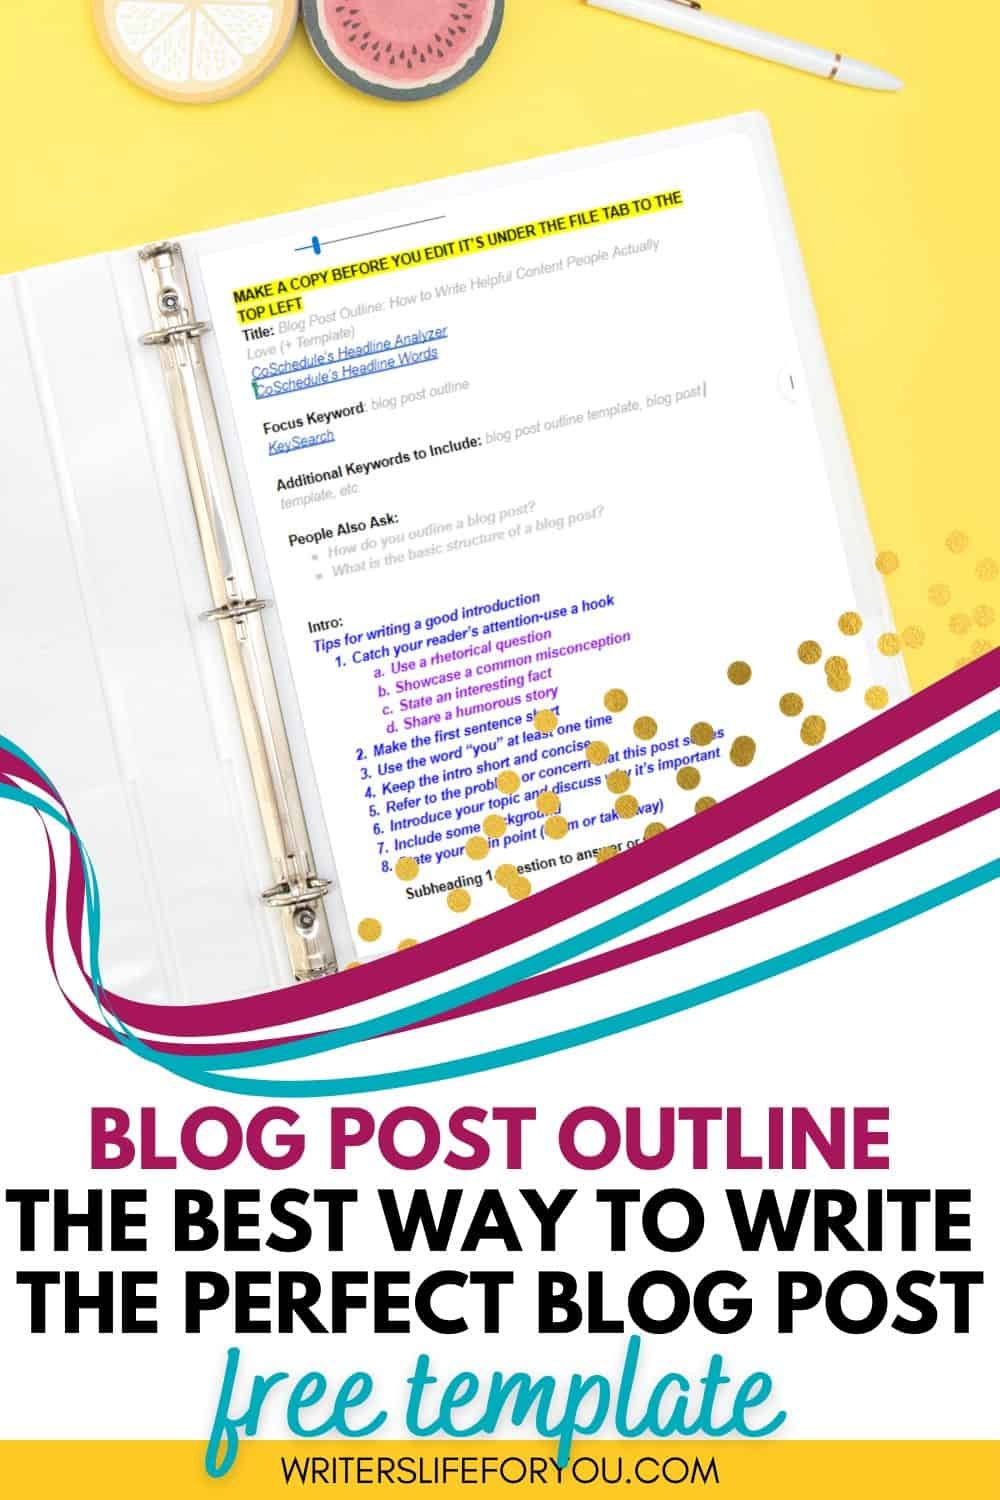
Intro:
Subheading 1-Question to answer or theme (H2)
- Supporting evidence (H3)
- Supporting evidence
Subheading 2-Question to answer or theme (H2)
- Supporting evidence (H3)
- Supporting evidence
Subheading 3-Question to Answer or theme (H2)
- Supporting evidence (H3)
- Supporting evidence
Subheading 4-Question to answer or theme (H2)
- Supporting evidence (H3)
- Supporting evidence
Conclusion
You may have more information than these bullet points, or you may have less if it’s a short blog post. Here’s where you start to group everything from your research and brain dump into related groups.
It’s basically organizing the chaos. You’ll likely identify your headings here.
So, for this article, I grouped everything I needed for each step into common themes and started using those main themes to create tentative headings.
Everything that related to what a blog post outline is was grouped together. The information I had on why you need a blog post outline was in one group and you get the gist.
You can start creating your basic outline based on the main categories that each piece of information falls under.

Step 7- Create Your Headings and Reorganize Them
Next, you can start finalizing your headings and organizing them so that they make sense. For instance, with this article, I wouldn’t put “What is a Blog Post Outline” after the steps to create one. It wouldn’t make sense.
Each heading should summarize what that section is about. From there, you can see what you need to cut out so you can identify your final headings.
Step 8- Edit and Cut
This step is where you cut the fluff and only keep the critical information you need to relay the takeaways. You can probably see that I talk a lot and could probably delete some of this, but that’s kind of my personality too!
You don’t want to edit your personality out of casual blog posts.
Whether you want your blog post to sell something or inform your readers, you want to order these groups and headings to present your solution clearly. You may end up rearranging and cutting things, and that’s fine. That’s what this whole process is all about.

Step 9- Create Your Final Blog Post Outline
Here’s where you clearly define your headings and each piece of supporting evidence or information. You create your outline into the final format where everything is organized and clearly describes the problem and solution.
Intro:
Subheading 1- What is a Blog Post Outline? (H2)
- An outline is essentially a roadmap or structure
Subheading 2- Why You Need a Blog Post Outline to Create Phenomenal Content (H2)
- It makes you a better writer
- It trains your brain to follow an organized process
- Save you time
- You present information that’s easy to read and digest
Subheading 3- How to Create a Blog Post Outline-9 Easy Steps
- 9-Steps (list them out in H3)
- 1. Brainstorming – Determine the Main Topic or Idea (H3)
- Supporting evidence
- 2. Keyword Research (H3)
- Supporting evidence
- 3. What are the Main Points You Want to Cover? (H3)
- Supporting evidence
- 4. Creating an Awesome Title (H3)
- Supporting evidence
- 1. Brainstorming – Determine the Main Topic or Idea (H3)
Conclusion:
This is just a super-simple example of what a final outline could look like. I tend to fill in more information, but I don’t want to overwhelm you. Remember, this is a very flexible outline. You may have more subheadings or less. It depends on the topic you’re writing about.

Writing Incredible Content
Writing awesome blog articles is much more than just presenting information logically. The entire process comes second nature after a while but in the beginning, it may feel too complicated and stiff. But you can ease into it.
Plus, there is the part where your format your blog posts in WordPress which can be a pain in itself. When formating your blog post, you need to add internal links and external links and make sure you hit on all the other important aspects of keyword optimization.
You’ll also need to add affiliate links if applicable, helpful content upgrades or freebies for your ideal reader, and all the other important parts of a blog post.
Whether you have a job as a content writer or you’re writing articles for your own blog, an outline can help you organize your thoughts so you don’t forget anything important like related keywords.
Incredible content creation is all about being creative while writing content in a purposeful way.
Final Thoughts on Blog Post Outline
One bonus is that an article outline helps you create a template to make writing blog posts easier, and it helps you systemize your process so you can scale later. The crucial part of growing your blog and business is creating processes and systems so you can replicate them with ease.
It also helps when you outsource, so if you hire a VA or writer, they have your blueprint or template and can create a blog post from beginning to end that looks similar to the ones you produce. Like I use headings in my actual blog posts drafts and before, I didn’t even know how to do that.
It’s part of my process and easy for someone else to replicate if they have my blog outline template.
You can also use an AI tool like Conversion better known as Jarvis. It’s a super helpful AI tool that allows you to write email copy, blog post outlines, long-form content, social media posts, content for ads, and so much more.
If you write a lot of content Jarvis is a useful tool that helps you create incredible content faster.
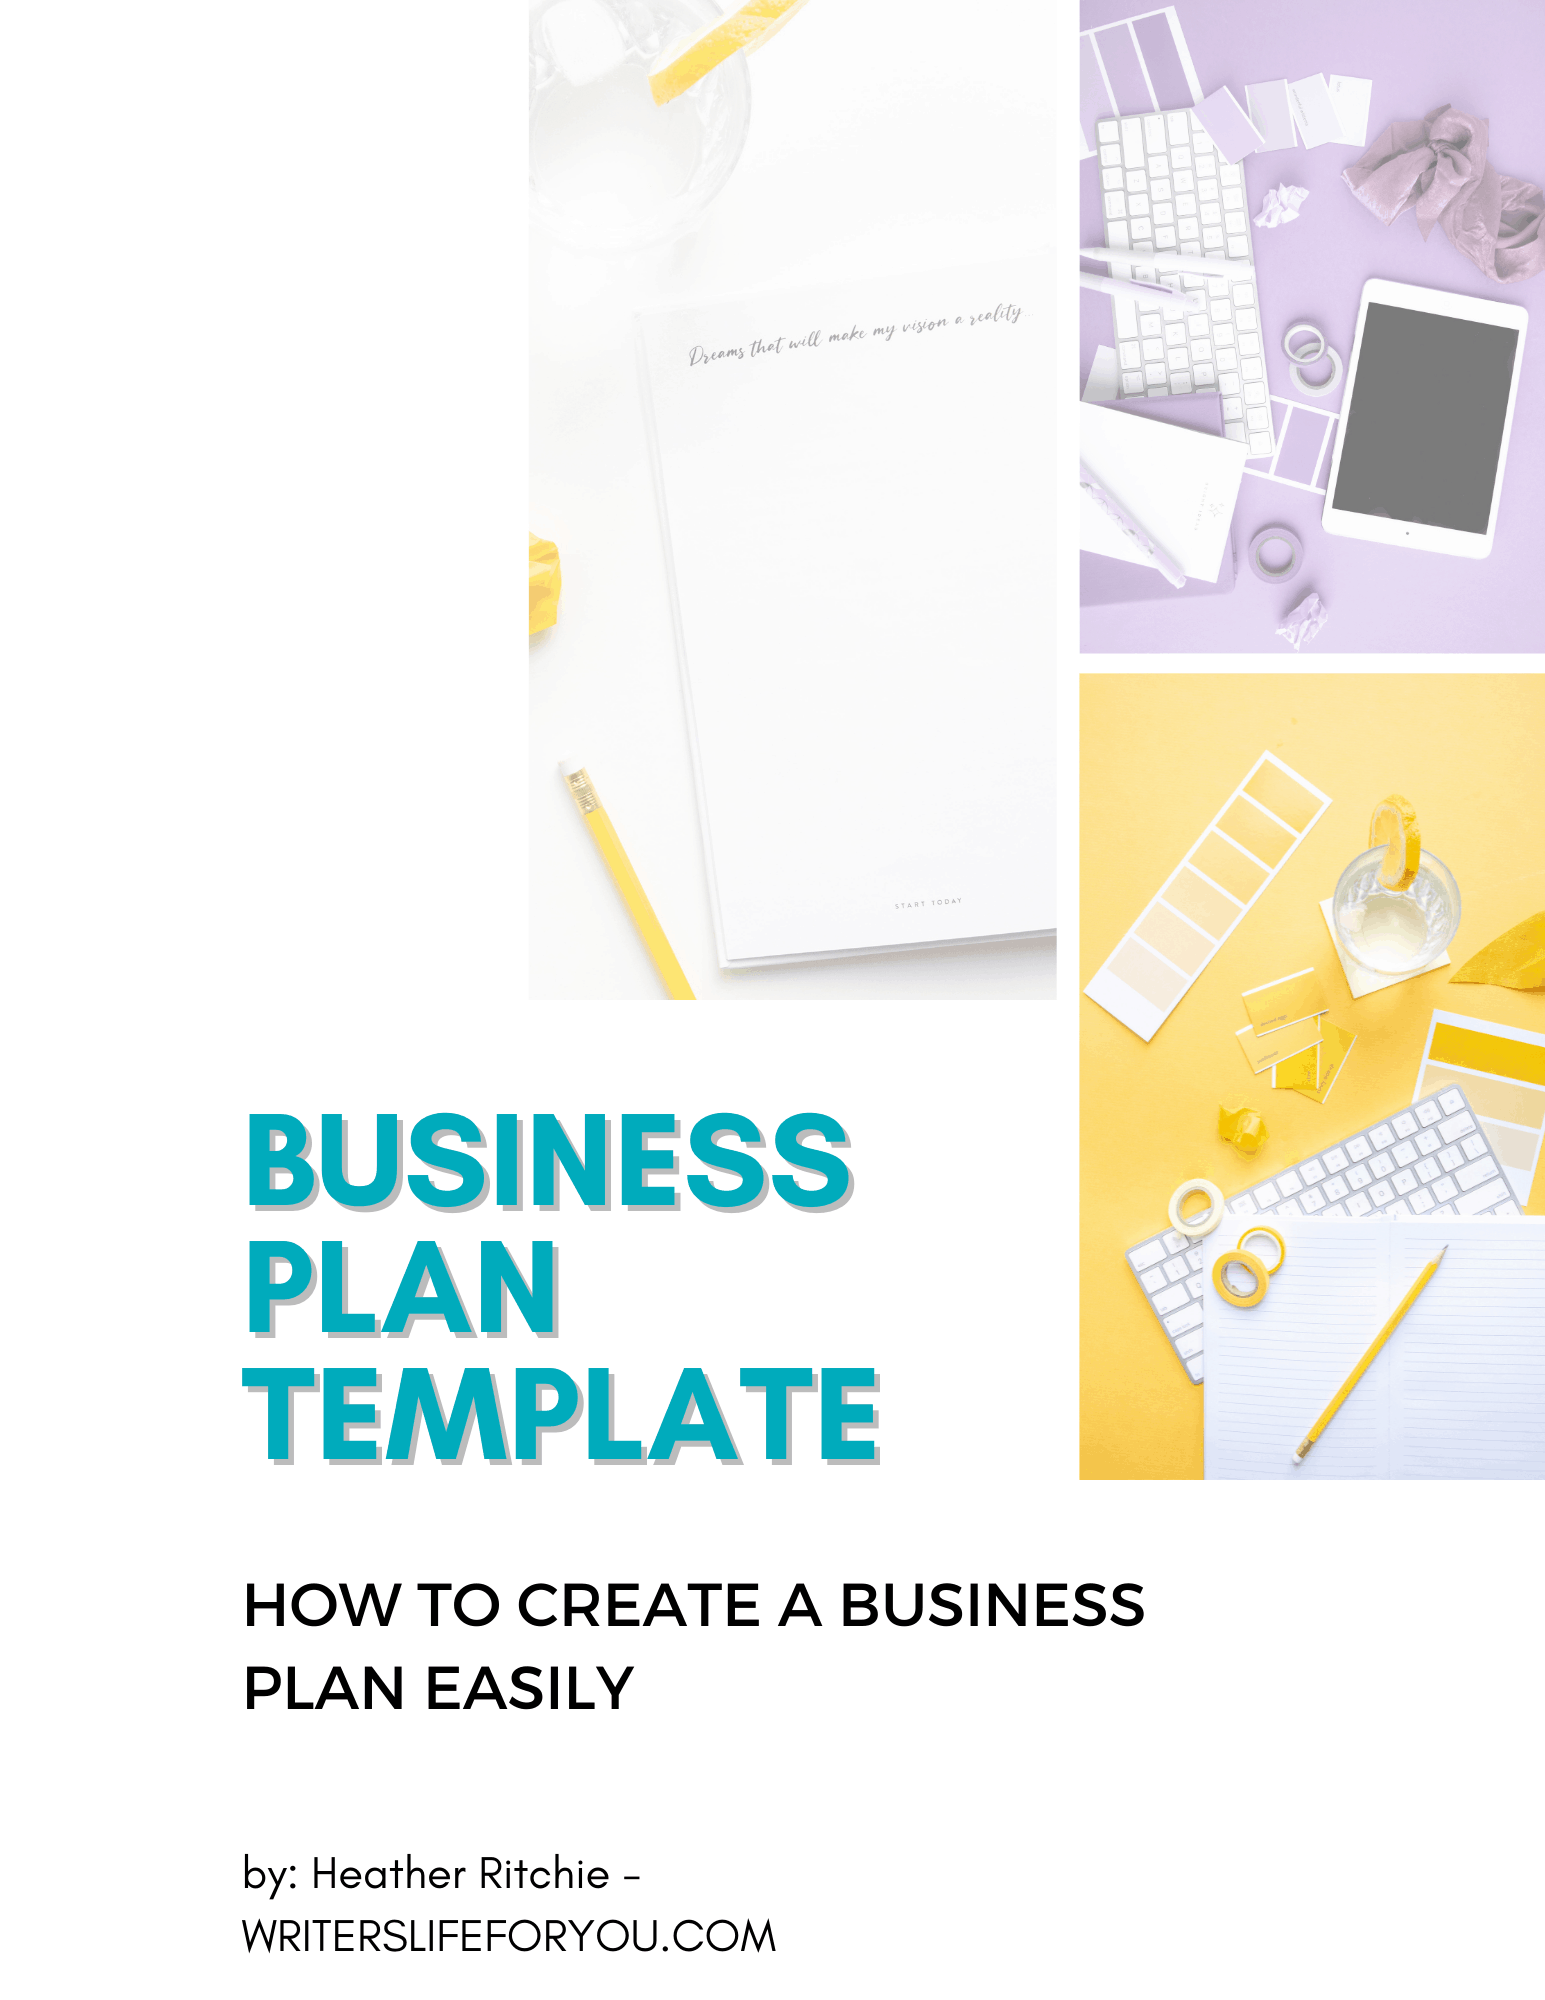
I hope this was helpful, and I encourage you to check out the blog post outline template because it’s a great way to ensure that your articles are useful and easy to read and understand. So, sign up for the template below.
Related Posts to Blog Post Outline
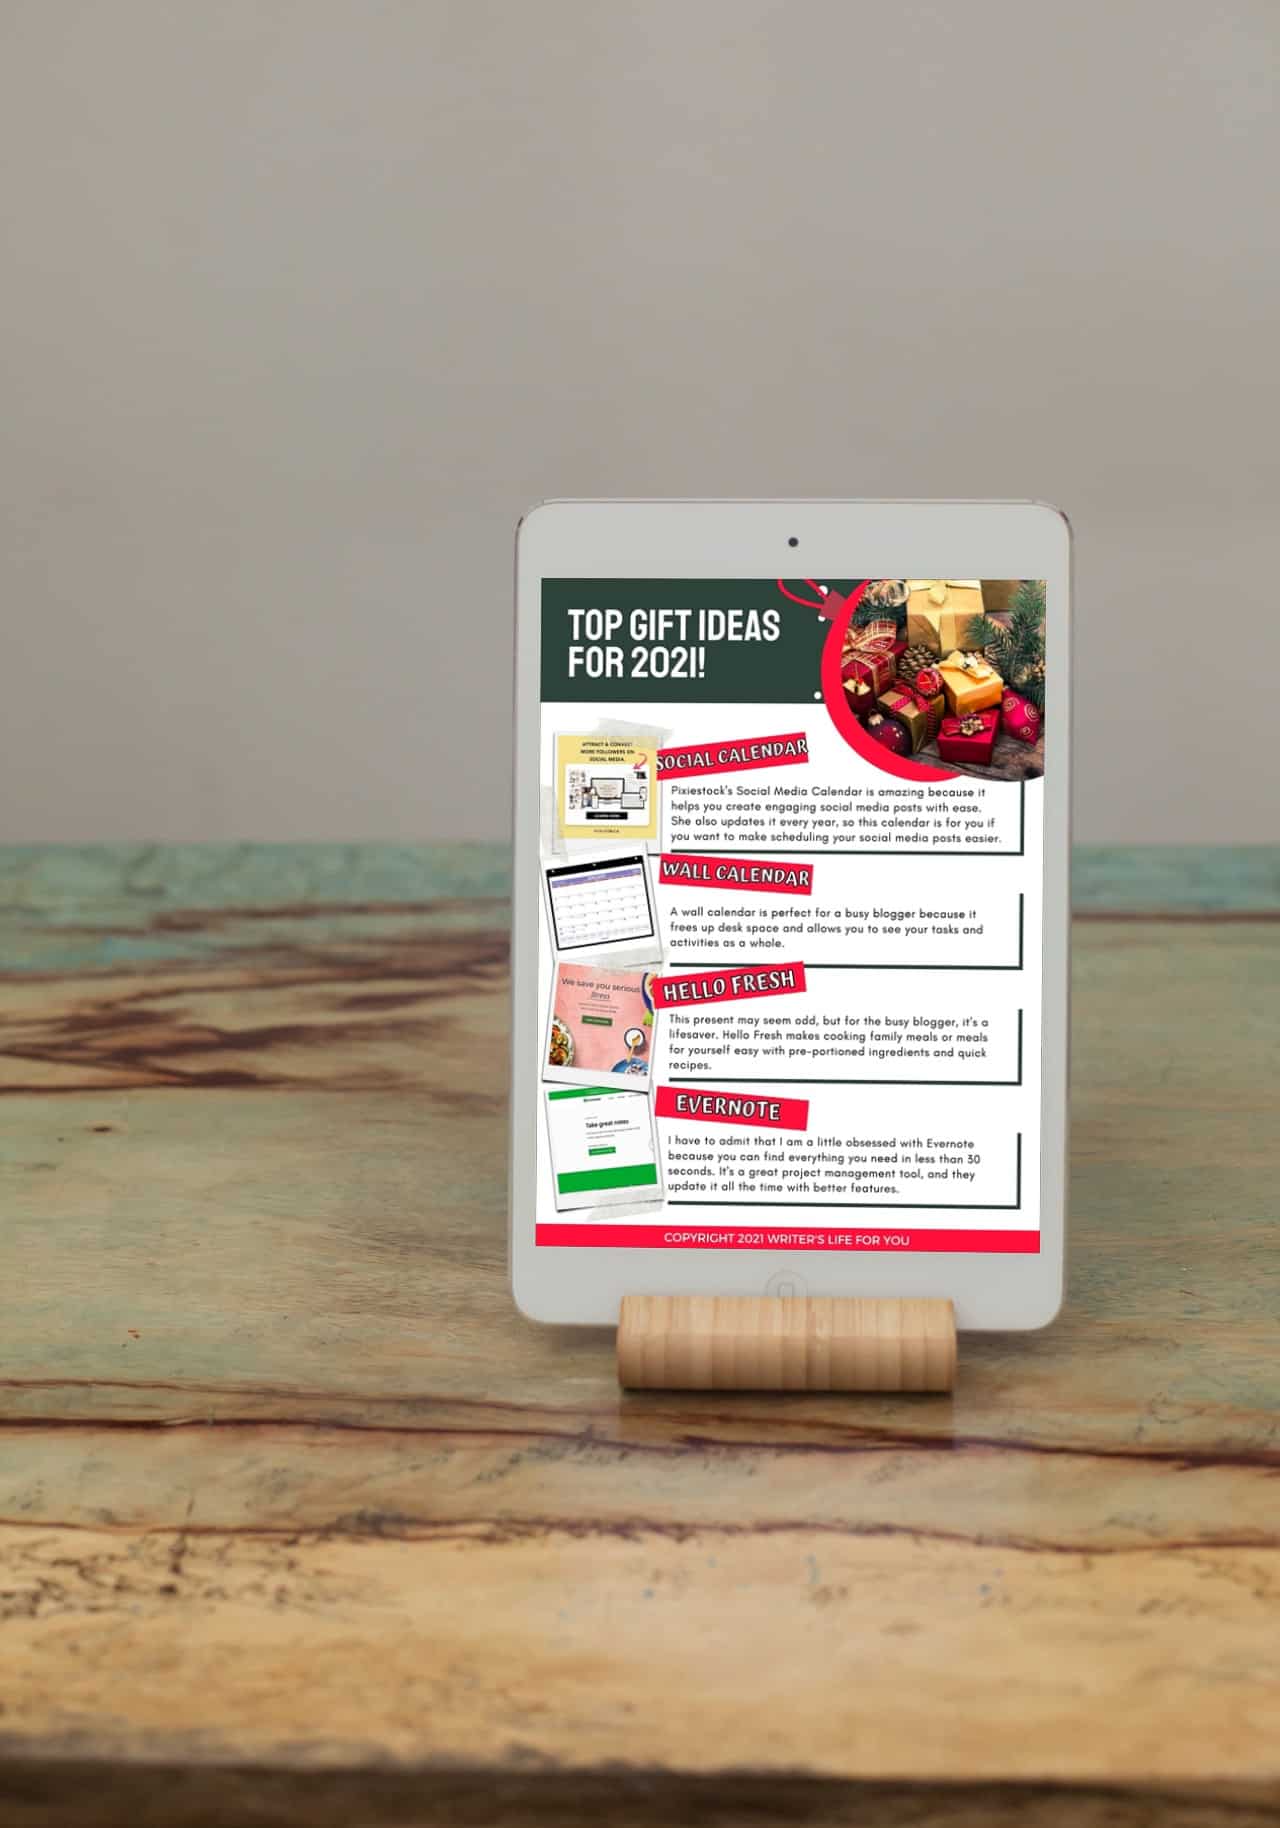
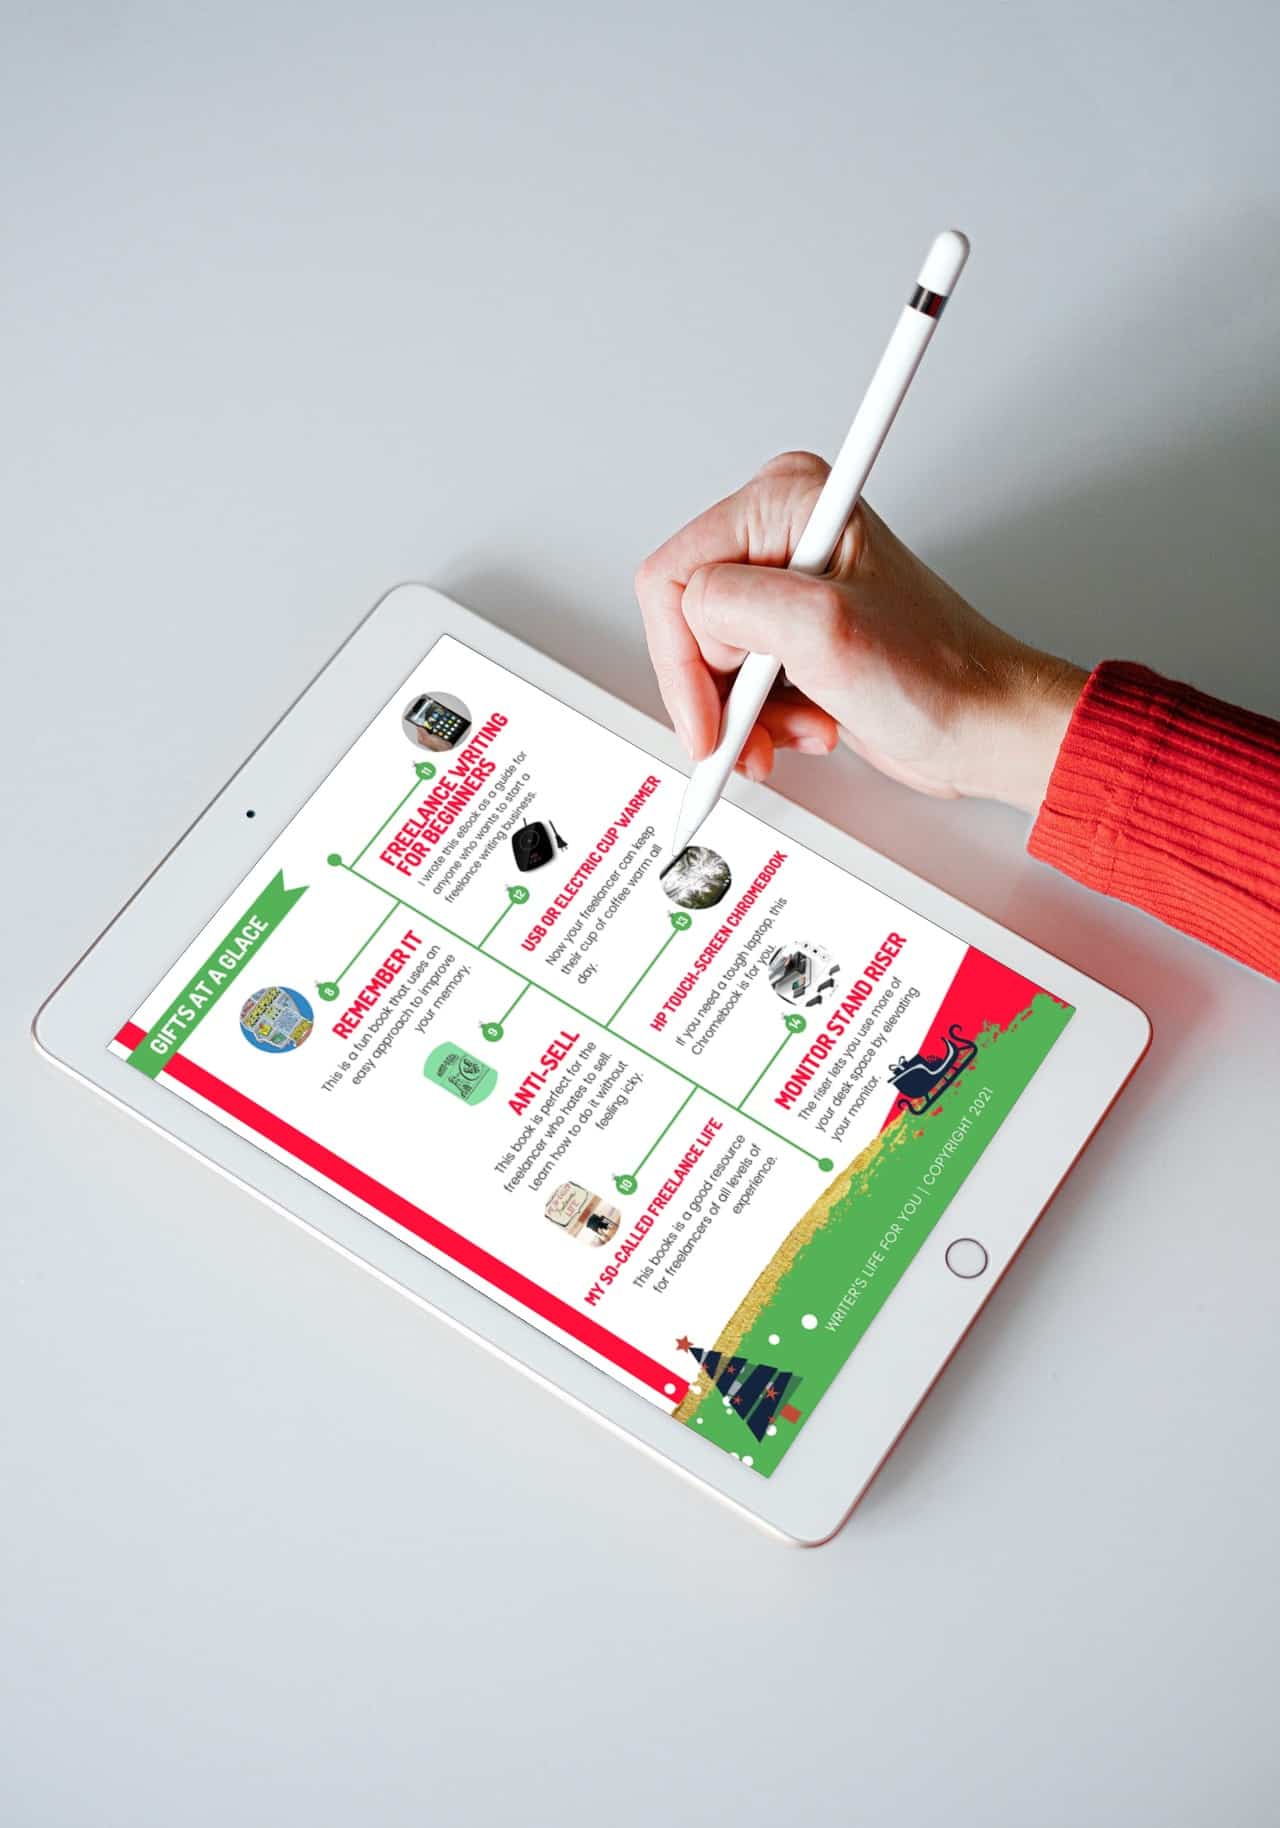
The Ultimate on The Best Gifts for Bloggers (They’ll Think You Read Their Mind)
25 of the Best Ways to Get Paid to Write Online You’ll Wish You Knew Sooner
How to Build Your First Freelance Writing Website in 7 Easy Steps
Content Writing Tips for Beginners: How to Look Like a Pro When You’re Not
Freelance Writing vs Blogging: Is One Better Than The Others?
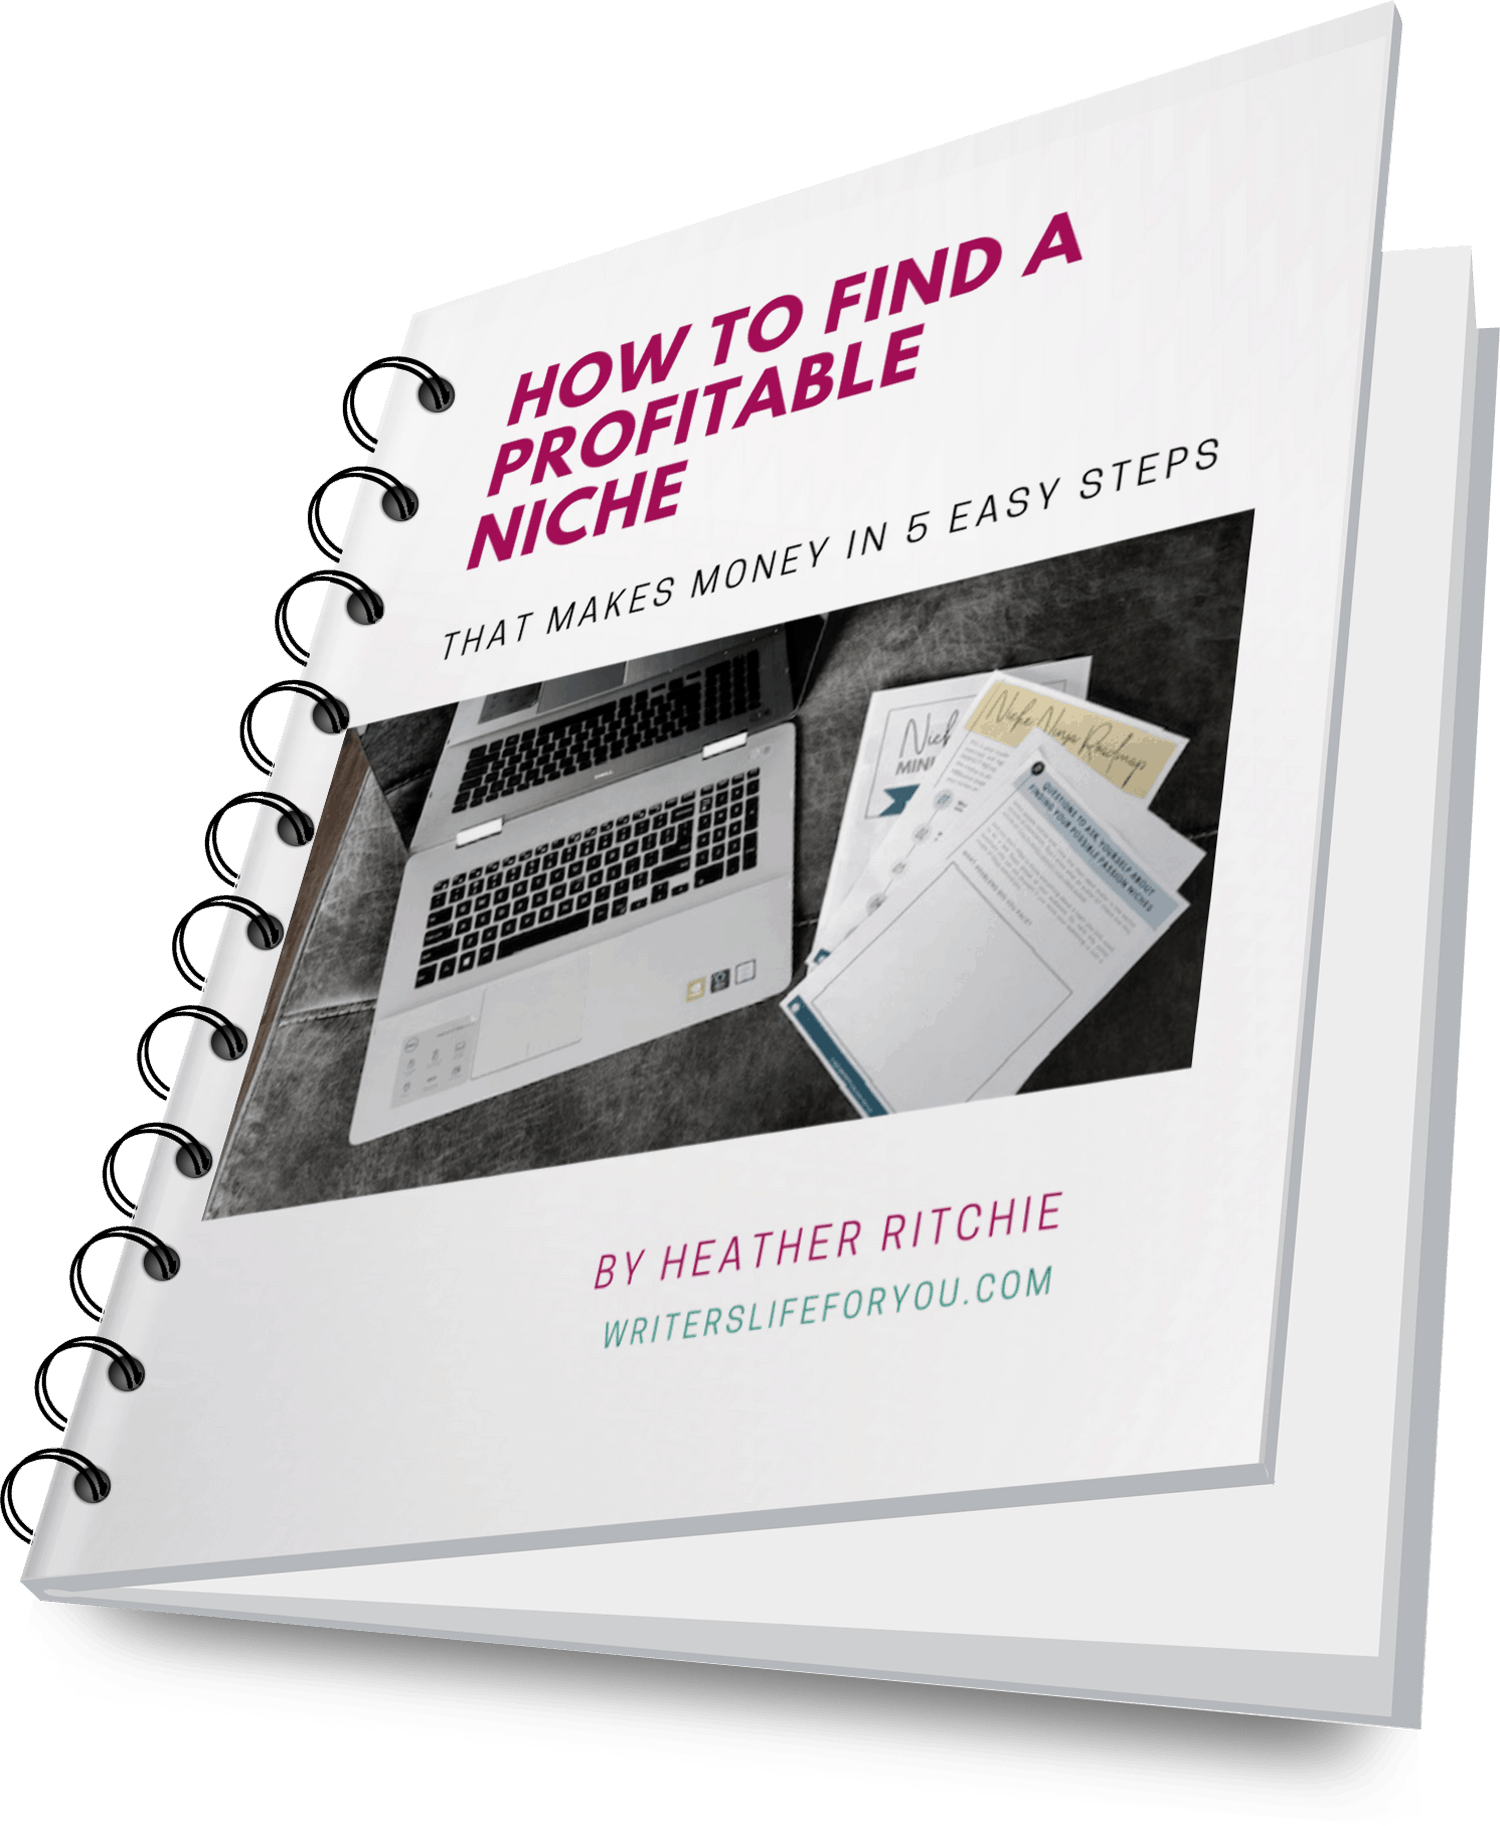
How to Find a Profitable Niche That Makes Money in 5 Easy Steps
Why You Should Hire a Social Media Manager to Explode our Business Growth
Creating a blog post outline helps you make sure you never forget an element of your blog posts.







This is great advice! Thank you for sharing.
Thanks for reading it!
This is so helpful!! Great content for helping to organize and outline the blog!
Thank you! I’m glad it helped. I’m not an outline person and even I outline blog posts.
Hey Heather, the editing process is often one of the hardest for me. Sometimes, I have no idea when to let go, I am too much of a perfectionist! As for my take on outlines, I think it will depend on what kind of article I am writing. If it’s a listicle, I will almost always use an outline. If it is an opinion piece or a how-to article, it usually writes itself once I get into the right frame of mind. Thanks for sharing!
I’m the same way with things flowing easily and writing comes easy. The best thing is to do what works for you.
Great tips especially for beginner writers and to those who doesn’t know how to write properly yet. Thank you so much for putting this together!
I agree. In the beginning, creating a great blog post that solves problems can be difficult. These are tips anyone can use. Thanks for stopping by!
Thank you for sharing! I am always looking for new ways to adjust what I am doing in a better way for my audience, and I have found some great new tips from here! Thank you, Heather.
Thanks for reading my article Victoria! Yeah I’m always looking to improve my writing so that I can serve my audience better.